Setting Up the Development Environment (new)
Linux is the environment supported for development. Thankfully, UofA students can get VMware for free, and setting up a Linux virtual machine is very simple.
Go to onthehub and login with your UofA CCID and password. Under products for students will be a version of VMWare workstation pro, (as of writing this, its 16.x). Add it to your cart and check it out to obtain a product key.
Now you can simply download and install VMWare. During the installation practice it will ask for your product key.
Go to the Ubuntu Download Page and downloaded the current LTS version of Ubuntu. Once its downloaded, open up VMWare. The setup process is pretty easy, here is a video going over it in detail
VScode is the main IDE supported. Go to their website to download it. Once in VScode, you will need to install the extension for C/C++, CMake, CMake tools, and Cortex Debug.
sudo apt install cmake ninja-build openocd gcc-arm-none-eabi libnewlib-arm-none-eabi git
Run the following to clone the embedded repo and download submodules
git clone https://github.com/UofA-SPEAR/embedded
cd embedded
git submodule update --init
Enter the blinky directory with cd examples/blinky and open VSCode with code .. Bring up the VScode command pallet with CTRL-SHIFT-P and find the CMAKE command for selecting a kit. Select the option which has "arm-none-eabi" in it.
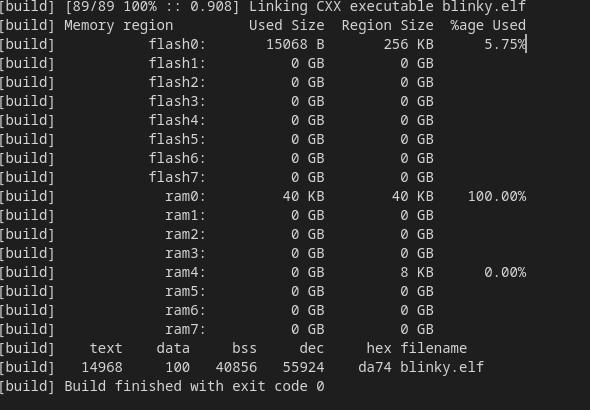
After this it should be ready to run. Press F5 or select Run > Start Debugging to build. If your results look something like the image below, then its probably working
If its still not working, the issue is probably either with CMake, or your $PATH. Check that the toolchain is added to your path and make sure you have the right CMake kit selected. Ask for help if you still have no luck.