[BETA] Augmented instructions for the AWS Media Filestreaming Workshop
Follow instructions from this lab: https://catalog.us-east-1.prod.workshops.aws/workshops/cb172534-d59d-41d1-a9b3-371039593c63/en-US/000introduction
Pause after the Create IAM Role Step. Then follow these instructions:
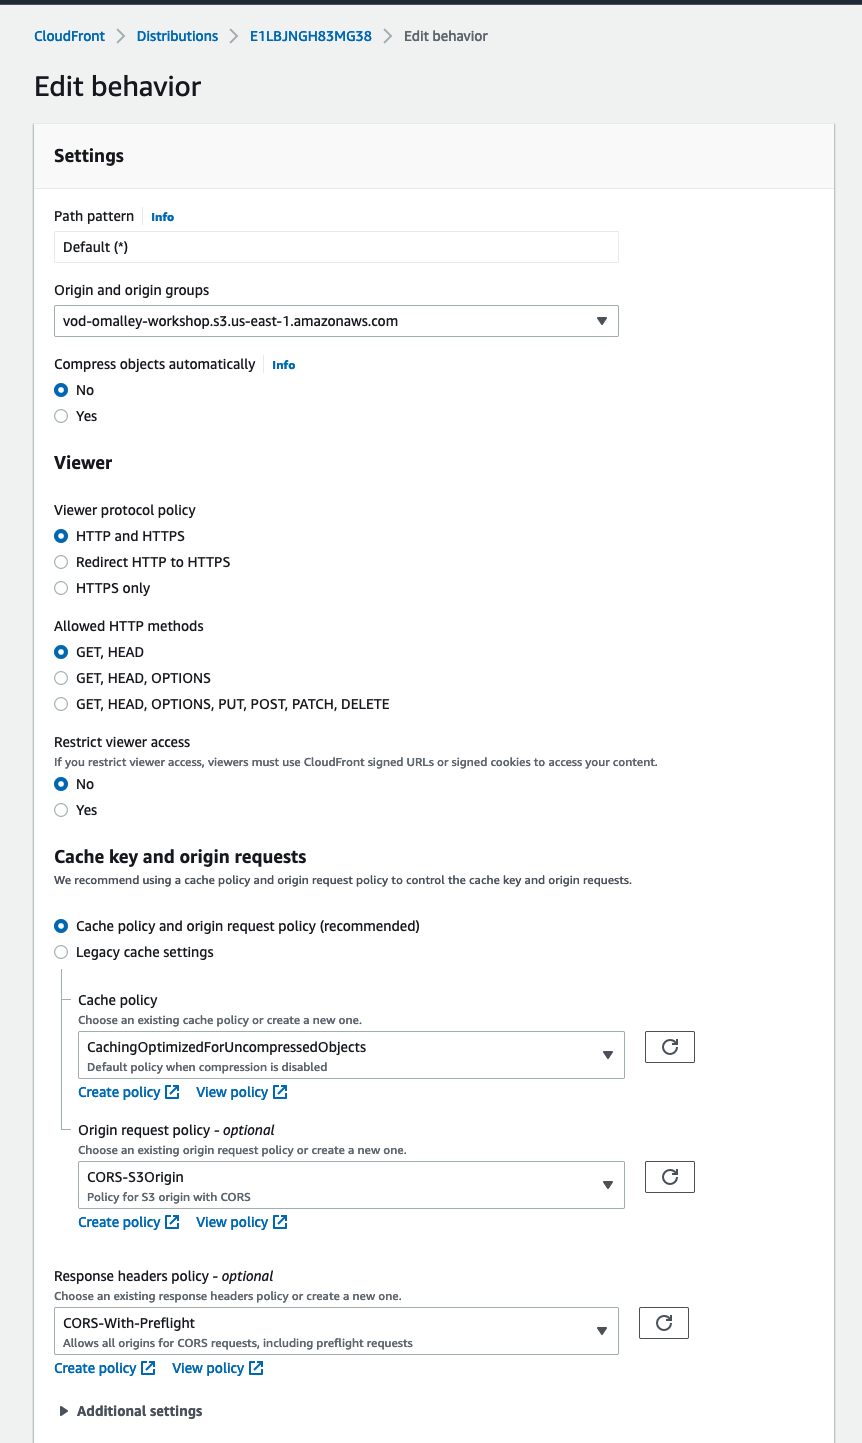
CloudFront Setup
- Head to CloudFront AWS Console: https://us-east-1.console.aws.amazon.com/cloudfront/v3/home?region=us-east-1#/distributions
- Create Distribution
- Origin Domain: Select the S3 Bucket
- S3 bucket access - Yes use OAI
- Yes update the bucket policy
- Origin Path = Leave Blank
- Enter Name for Origin: Auto-populate with S3 Bucket
- Add custom headers - Skip this step
- Enable origin shield - Yes - Region: US-East-1 (for demonstration purposes only)
- Additional settings: Leave all as default
- Click Create Distribution
- While this is creating (~ 10 min) click on the Origin.
- Navigate to Error Pages.
- Click "Create Custom Error response:
- We will create 2 seperate error respones for 403 and 404 errors. Set TTL to 1 second.
- Customer error response = no
- Create custom error response, repeate for second errror (404)
Reference: https://docs.aws.amazon.com/AmazonCloudFront/latest/DeveloperGuide/live-streaming.html
Return to the Main Lab for Transcoding Section, but return here for "Playback" Section
- Navigate to MediaConvert job
- Click on Job ID
- Scroll down to Ouputs
- Click on the blue Apple HLS - [Media Convert Job] link
- Inside the S3 folder you will see m3u8 and TS files. TS = 6 second MPEG Transport Stream segments with AVC/H264 video, the m3u8 files are the parent and child manifests
- Optional: download the .TS (video/audio) and M3U8 to view locally. TS may require VLC player. M3U8 any plain text editor can view.
- Click on VANLIFE.m3u8
- Copy the S3 URI: s3://[BUCKET]/assets/VANLIFE/HLS/VANLIFE.m3u8
- Pzste into a notepad
- Head to CloudFront Console: https://us-east-1.console.aws.amazon.com/cloudfront/v3/home?region=us-east-1#/distributions
- Copy the Domain name to the same notepad: Ex. d1hp69r8hc134x.cloudfront.net
- Copy the end path of the S3 URI /assets/VANLIFE/HLS/VANLIFE.m3u8 onto the end of the CloudFront URL. Ex. https://d1hp69r8hc134x.cloudfront.net/assets/VANLIFE/HLS/VANLIFE.m3u8
- In a browser, navigate to JW Player's Stream Tester: https://developer-tools.jwplayer.com/stream-tester
- Paste in the concatenated URL from Step 12 insto the "HLS Stream Url"
- Select Test Stream
- You should see a 2:01 video of a van playing in your window.
- If any errors, please check that the file paths, CLoudFront Origin Access Identity, and cache key and origin request settings are configured correctly. s