
View Live Template | View Live Example
🌑 Dark Mode Toggler
📖 Multi-Page Layout
🎨 Styled with SCSS Modules
📱 Fully Responsive
You'll need to have Git and Node.js installed, and you'll need to be somewhat familiar with your computer's command line.
First, from your command line, clone the repository and navigate into it. You'll also need to remove my version as the remote origin.
git clone https://github.com/paytonjewell/ReactPortfolioTemplate.git

cd ReactPortfolioTemplate

git remote remove origin
Next, you need to install the dependencies. This can be done using either NPM or Yarn.
npm install OR yarn install
Once the installation is complete, run either npm start or yarn start to get your local copy running. This should also open a preview of the template in your default browser, at an address of http://localhost:8080/, or something similar.
Open the project folder in Finder, or whatever your machine's file explorer is called. Navigate to /src/img/. There, you will see five images. Delete them all, and then add your own, with the following criteria:
- Add to the folder an image of yourself with the background removed, and cropped to a square shape. I know it seems picky, but this is what will look best with the template. I recommend using https://www.remove.bg/ to remove the background. If the image is very wide or very tall, crop it using your machine's built-in image editor so that it is mostly square. When you add this to the
imgfolder, be sure to rename the fileself.png. - Next, add to the folder as many screenshots of your projects as you would like. The default number or projects is four. This can either be a singular image of the site, or you can make mockups like the one below in Canva, Photoshop, Gimp, etc. Feel free to email/DM me at any of my socials (listed at the bottom of this README) if you want help making something similar. Eventually I'll write a blog post on how to make them:

- Rename all of your project image files to "mock1.png", "mock2.png", "mock3.png", etc. for as many as you have, starting with 1 and going in consecutive order.
Next, open the project in your code editor. Navigate to /src/Info/Info.js. There are some instructions written in the comments there, but I'll go over everything here as well.
Near the top of the Info.js file, you will see the following line:
export let colors = ["rgb(185, 85, 211)", "rgb(247, 10, 7)"];
These are the colors used to determine the "accents" throughout the site -- the circle behind your self portrait, the color of your name, the buttons on the Portfolio page, and the labels on the About page.
You can pick any colors you like for this, but I reccomend using this gradient generator to play around and find colors that look good together. When you've found a combination you like, copy the first rgb code (looks like "rgb(185, 85, 211)" but with different number values) from the bottom of the gradient generator, and paste it to replace the first value of the colors array in Info.js. Then, do the same with the second rgb code from the gradient generator.
Note: You aren't required to use rgb codes, you can also replace the codes in quotes with accepted colornames like "goldenrod" and "violet", or you can use hex codes.
When you're done, save the file, and take a look at your local copy in the browser -- the colors on the homepage should have changed to the new colors you added. Be sure to play around a bit with toggling Dark Mode to make sure your colors look the way you want them to in both modes.
Going further down the Info.js file, you will see a big group of text that starts with export const info = {. Begin replacing this information with your information, such as the firstName, lastName, initials, position, etc. Some of the values should remain unchanged -- pay attention to the comments in the file.
If you're not sure how to get emojis for the miniBio and hobbies, on recent Macs you should be able to access the emoji keyboard with control+command+space. Otherwise, use Emojipedia to find and copy-paste what you like.
For the 'socials' section, be sure to replace the links with your own social profile links.
For the 'portfolio' section, update the titles to whatever you want. The liveLink should be a link to the live demo of your project. The sourceLink should be a link to the repository where the code of the project is hosted, such as GitHub.
Note: If you have more than 4 projects, you will need to add more objects to the portfolio array. Just copy from the opening bracket to the comma of one object and continue pasting as many as you need. If you need help with this, feel free to reach out.
And that's it! If you save the file and check your live server, you should see that the information has been updated and the portfolio has been customized.
Please Note: I'm only going to be including instructions for deployment to Github Pages right now.
Go to github.com and create a new repository with whatever name you'd like. (Portfolio, ReactPortfolio, etc.) The best practice here is to have no spaces. This will make things easier for you in later steps.
Once you've created the new repository, navigate to the package.json file in the Template project in your code editor. Look for the line labeled "homepage", and change the URL there so that it looks like "http://YourGithubUserName.github.io/WhatYouNamedYourNewRepository", replacing YourGitHubUserName and WhatYouNamedYourNewRepository with the relevant information.
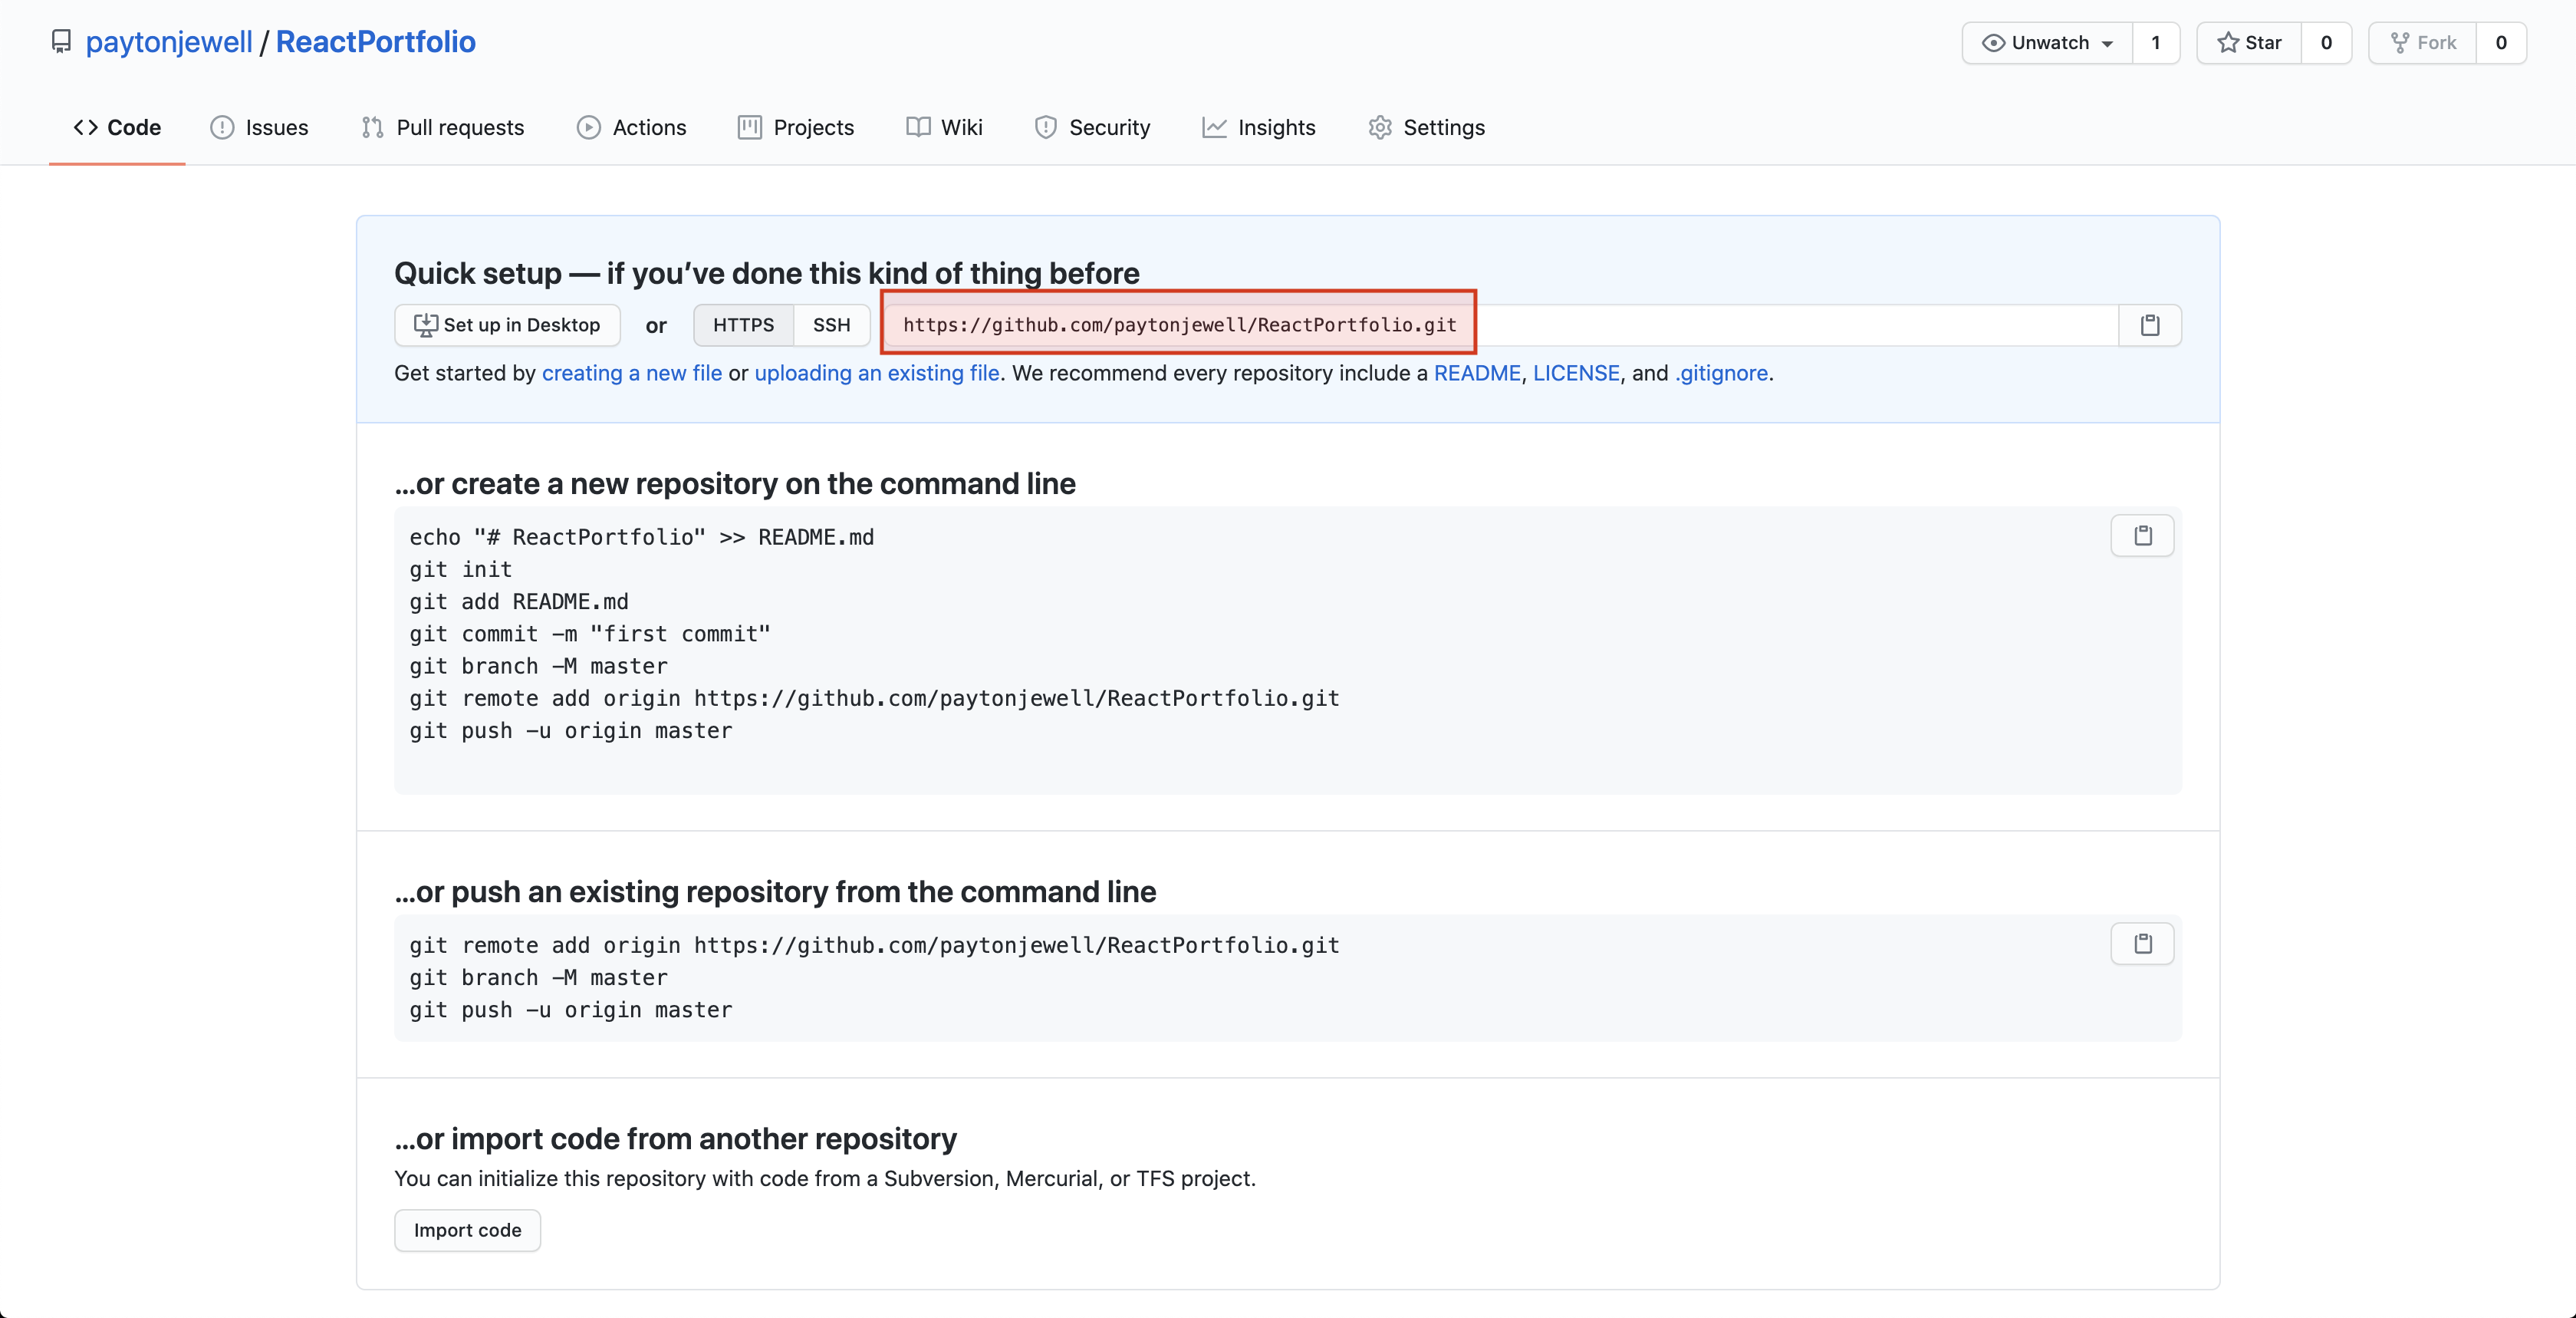
Back on GitHub, when you created your new repository, it should show a page like the picture below. Copy your link located in the same place as the red box illustrates below.
Now, in your command line, making sure that your present working directory is the template project, run the following script, but replace the link with the link you just copied:
git remote add origin https://github.com/paytonjewell/ReactPortfolio.git
Next, run npm run deploy.
That's it! Now your project will be available at the link you used for the homepage earlier. (It may take a few minutes to fully deploy).
Optionally, if you want to easily update information later, run the following scripts as well:
git add .
git commit -m "Created my React portfolio and deployed to Github Pages"
git push origin master
And you're done!
If you have any questions or issues with the setup process, feel free to contact me by any of the means below:
Twitter | paytontaylor96@gmail.com | Facebook
(on Facebook just send a message request, I don't accept friend requests from people I don't know)
Or, use this repo and post an "issue" :)
All that I ask is that you please credit me for the template :) If you'd like to remove the credit from the bottom of the site, go for it, just link my profile somewhere in your ReadMe when you deploy, or wherever.
.•° ✿ °•.
If you enjoyed this template and want to support my ability to make more of these, as well as creating video tutorials about React projects, writing articles about helpful developer tools, or you just want to be nice, feel free to support me on Ko-Fi!
If you have any suggestions for how to improve this template, the ReadMe guide, etc. please don't hesitate to reach out -- I will always happily accept constructive feedback!
°•. ✿ .•°